March 19, 2015 by Someinterwebguy
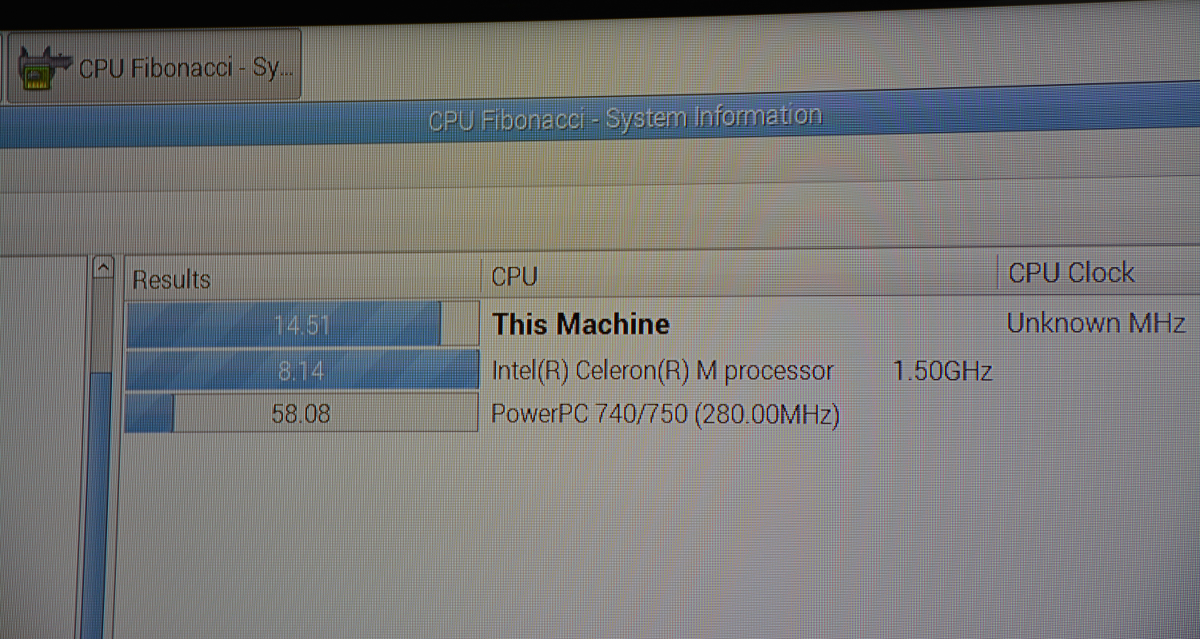
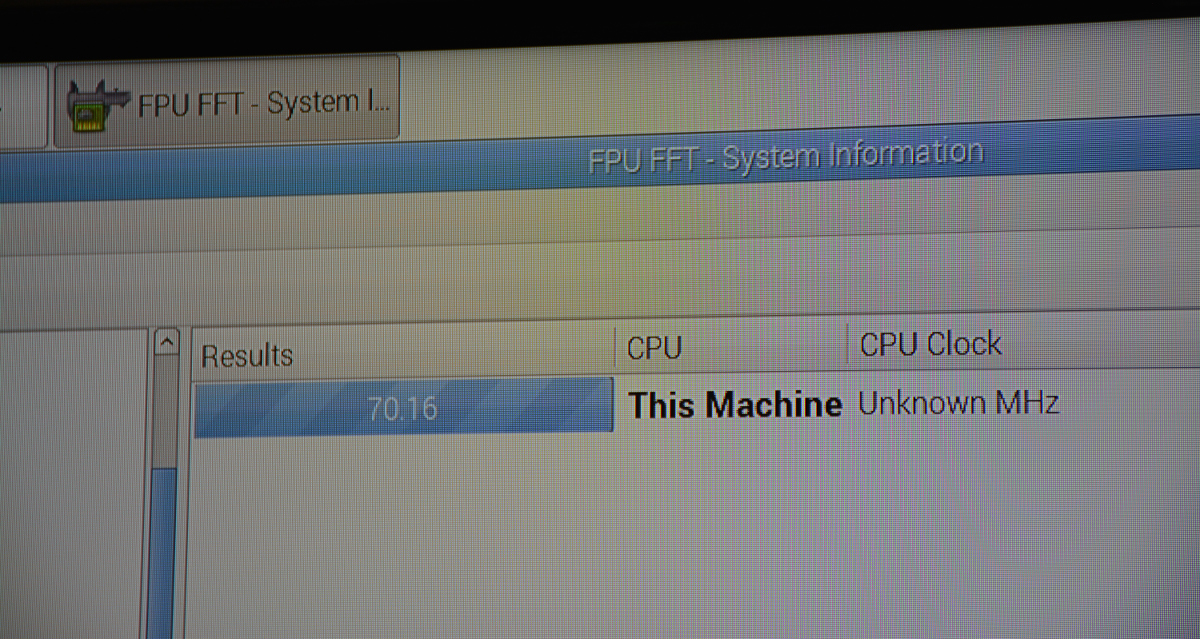
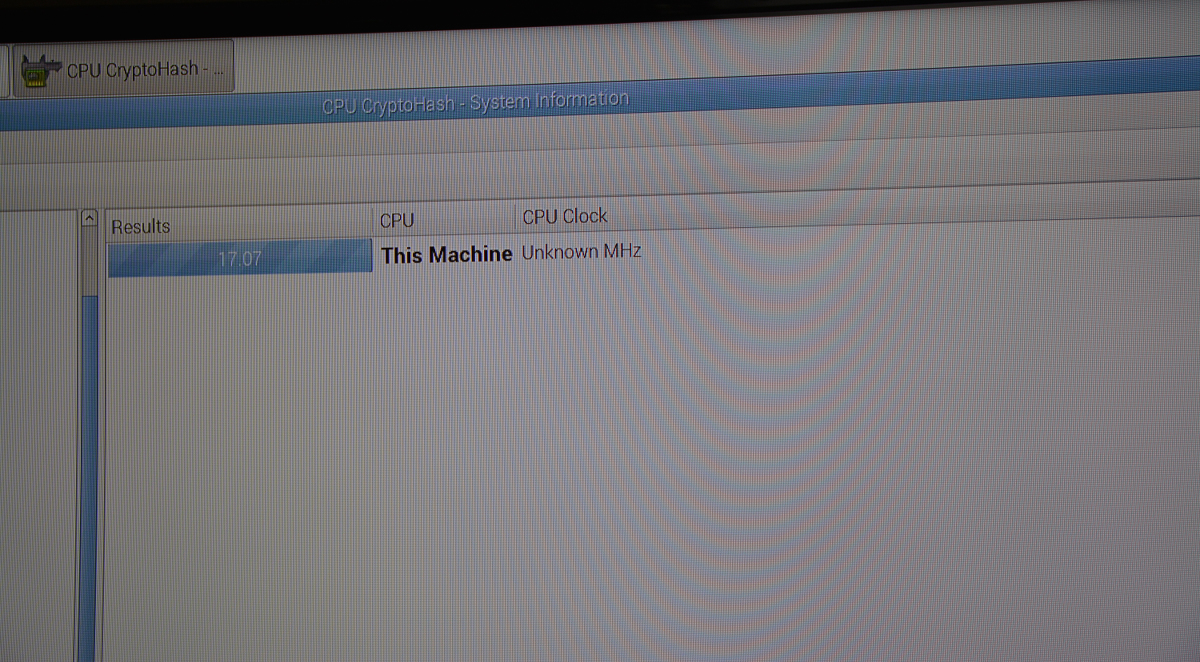
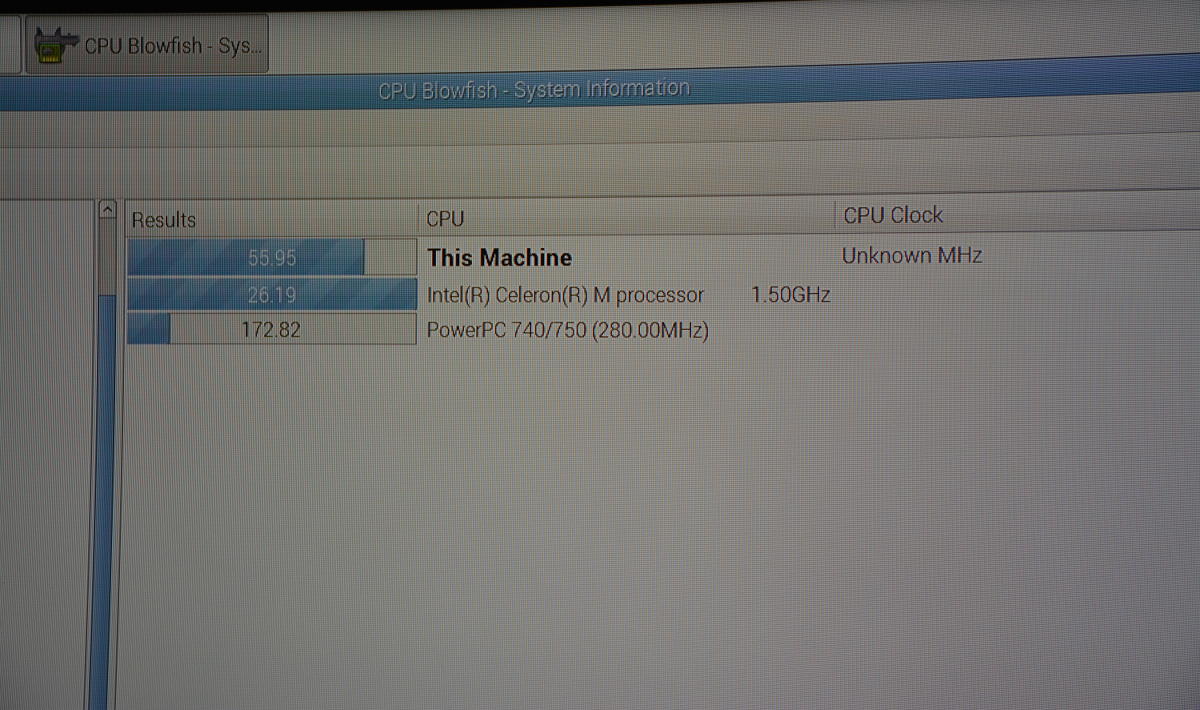
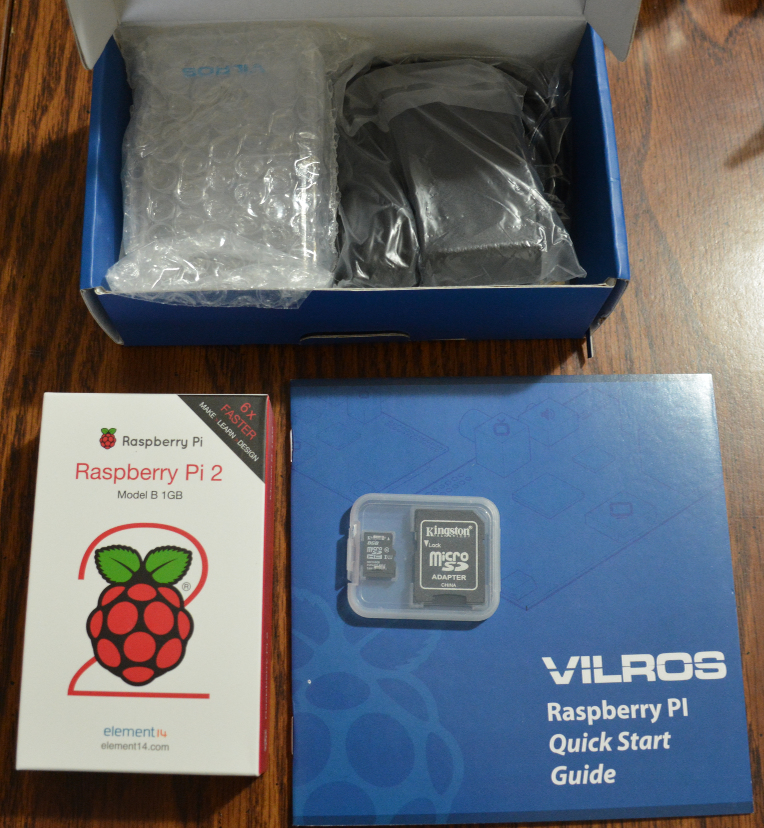
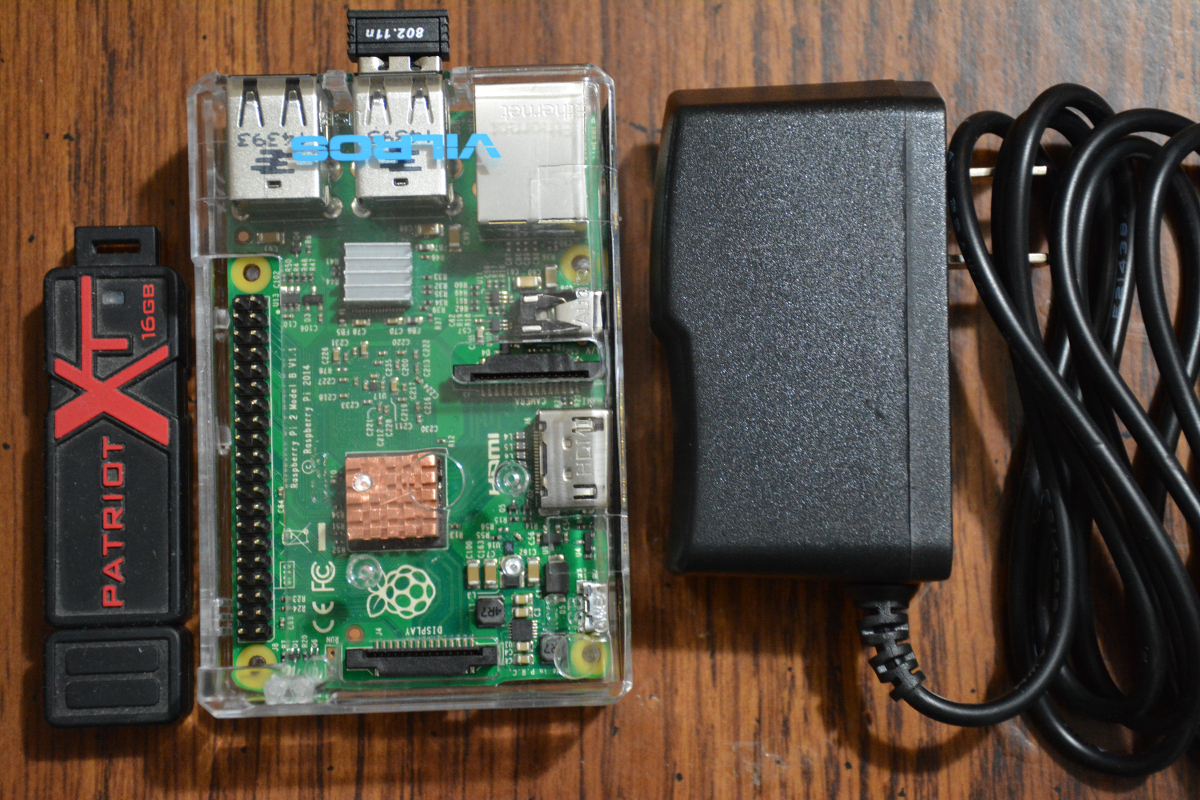
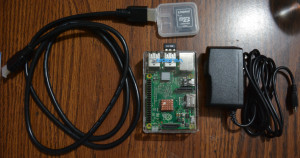
Since I last wrote, I’ve had a little bit of time to try out the Raspberry Pi 2. I’m still working on the software side of things, including finding out how much it is capable of. Below are a few pictures I took as I unboxed the Pi 2, as well as a size comparison with its power adapter and a 16GB flash drive.
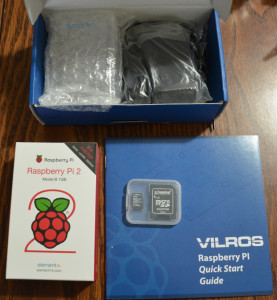
Unboxing the Pi 2
Unboxing the Pi 2

Unboxing the Pi 2
Unboxing the Pi 2
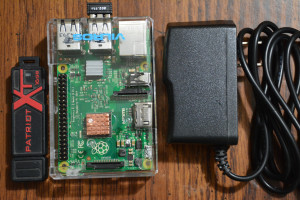
The Pi 2 is only slightly bigger than the power adapter plug.
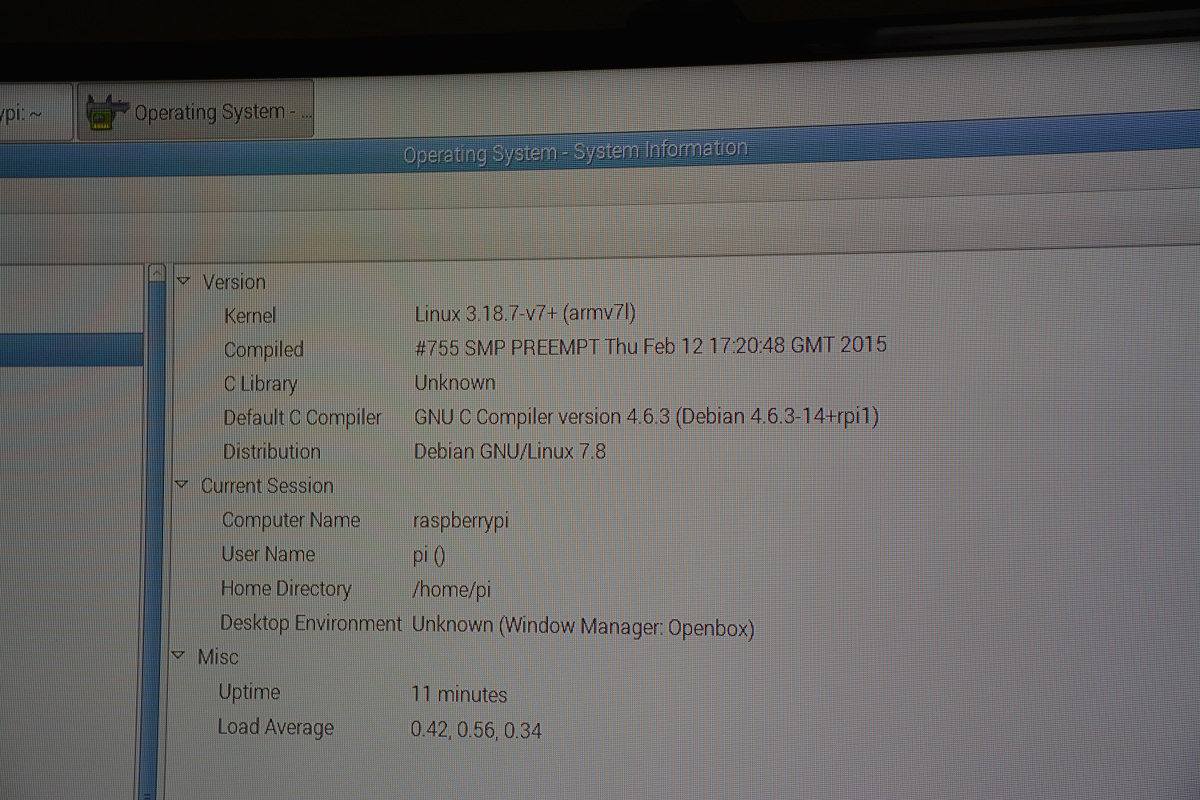
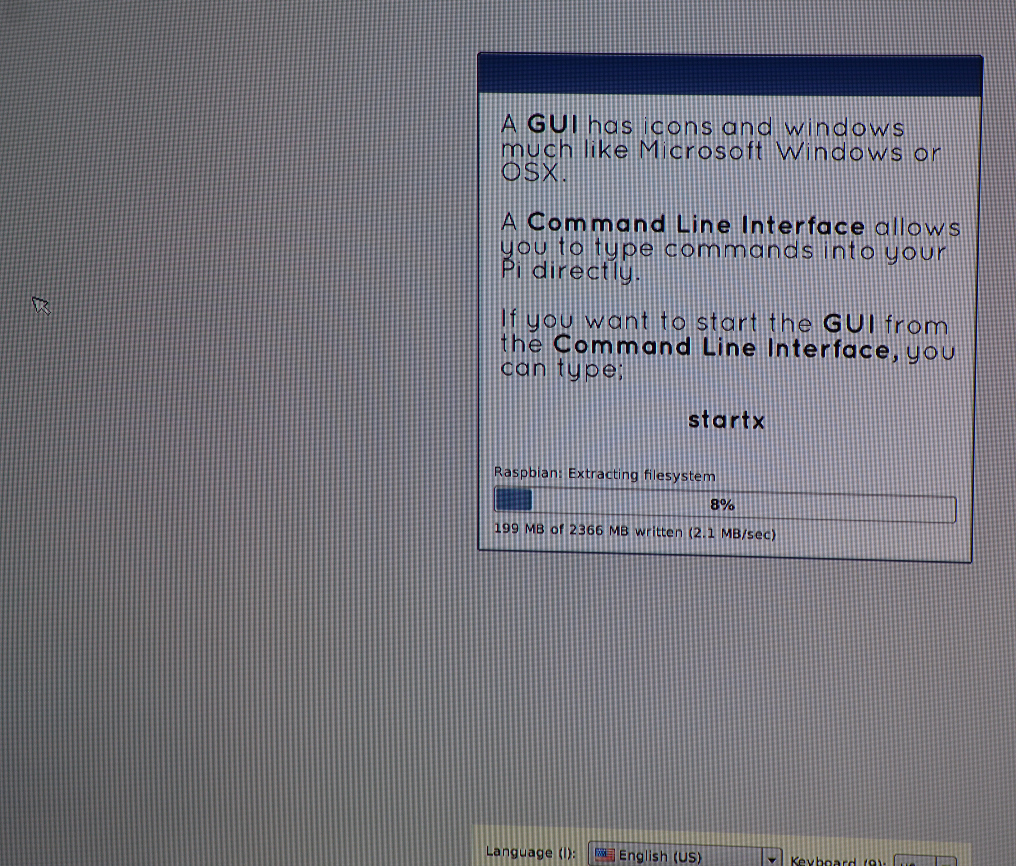
I hooked up the Pi 2 to my 55″ Samsung TV, and booted up the first time. I was greeted by the NOOBS screen and decided to install Raspbian as well as create a data partition. I would repeat this a few days later, when I formatted the microSD card and put a new version of NOOBS onto the card. Both times the installation was the same. It took roughly 10 minutes or so to install everything, though it could have been longer, as I wasn’t timing anything. I elected to overclock the Pi 2 from 900MHz to 1GHz, as well as disable overscan (it was only showing up on a portion of my TV screen), as well as assign 256MB of ram to the GPU.
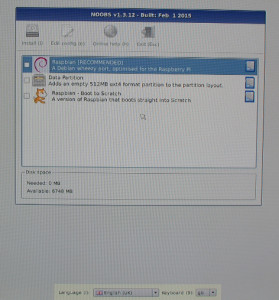
The NOOBS screen.

Installing Raspbian.
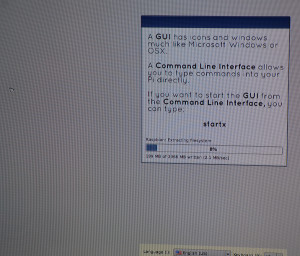
Installing Raspbian.
After installing Raspbian OS, I began to install various applications to test how usable a Pi 2 would be as an office computer.
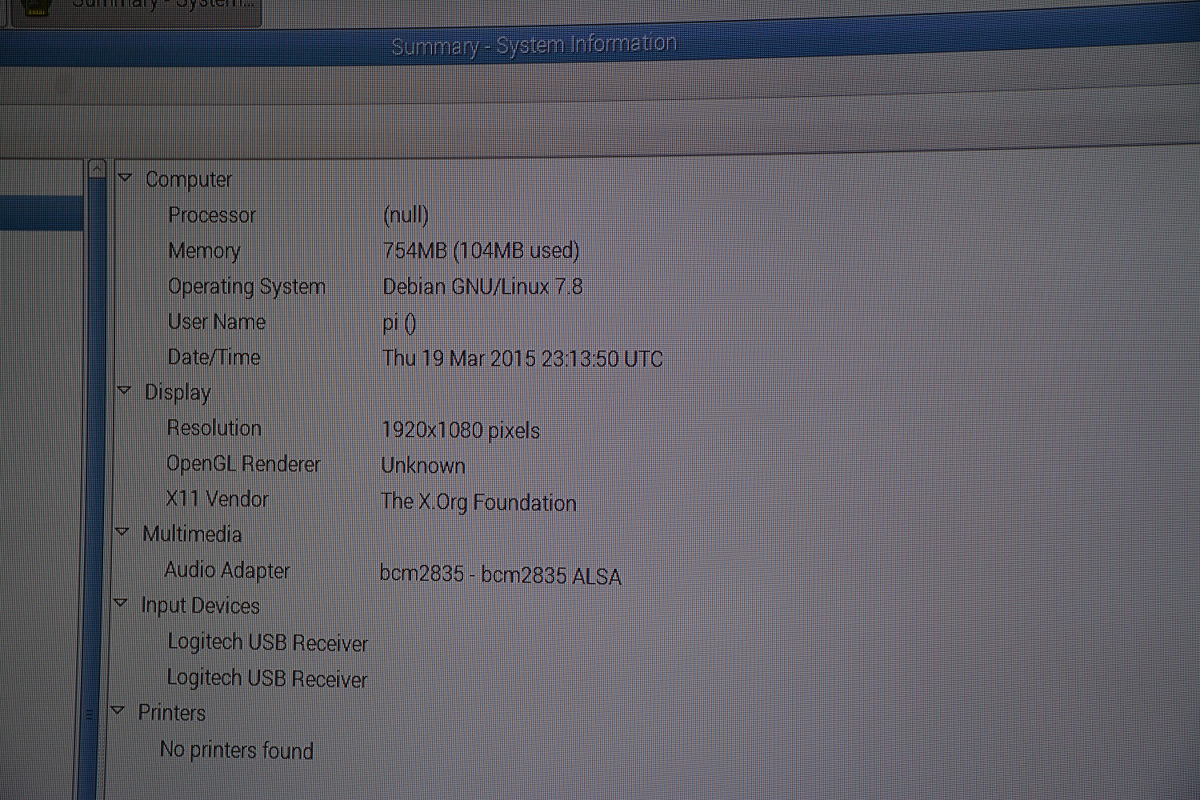
I installed Synaptic, then began installing various applications. LibreOffice, The Gimp, Ice Weasel, and Ice Dove were all installed and ran without any problems. I’ve yet to do any serious “work” with any of the applications at this time, though the system did feel reasonably responsive provided I stuck to one app at a time. While 1GB of ram that the Pi 2 sports is a significant upgrade, apps like Ice Weasel will grab a huge amount of that with more than a few tabs open.
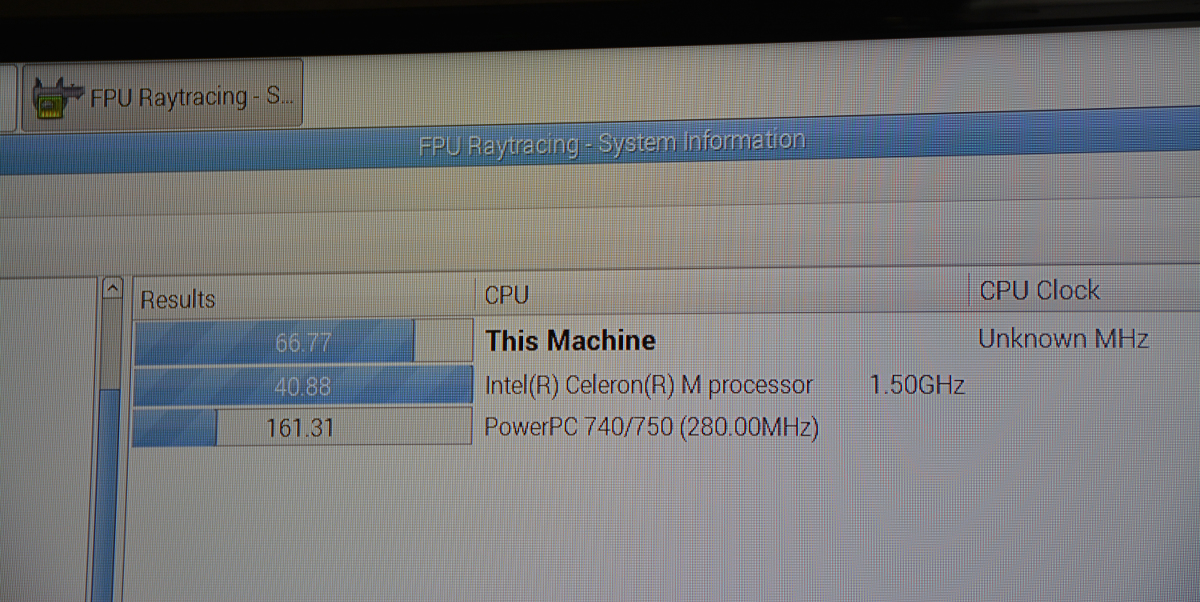
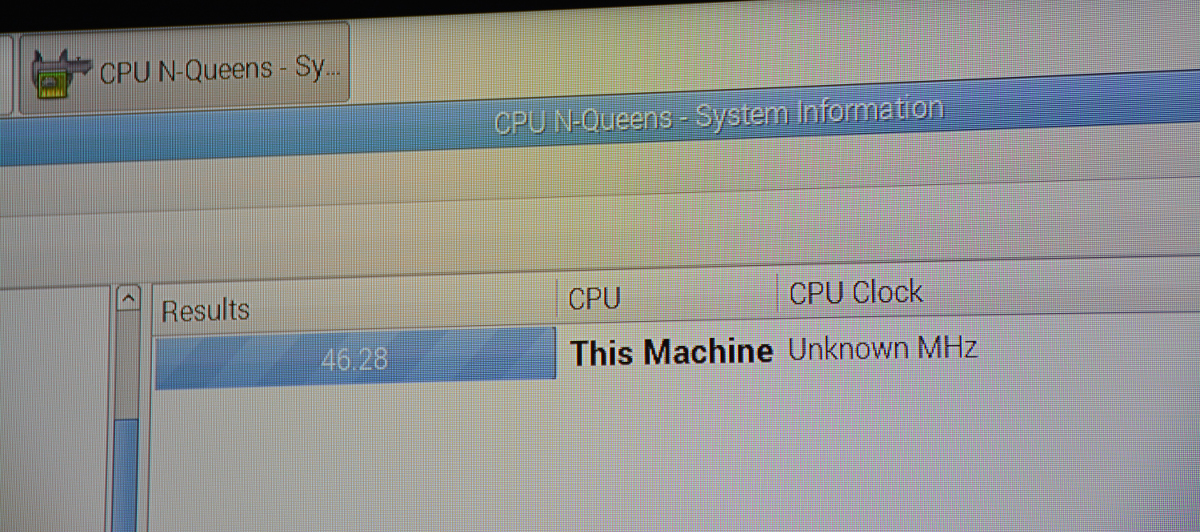
I plan on doing a bunch of app/game testing over the next few weeks, though I will say so far, that in a pinch, the Pi 2 could be used to do some basic office tasks without too much trouble, in addition to being a capable programming platform.
To be continued.